Essential Components and Tools
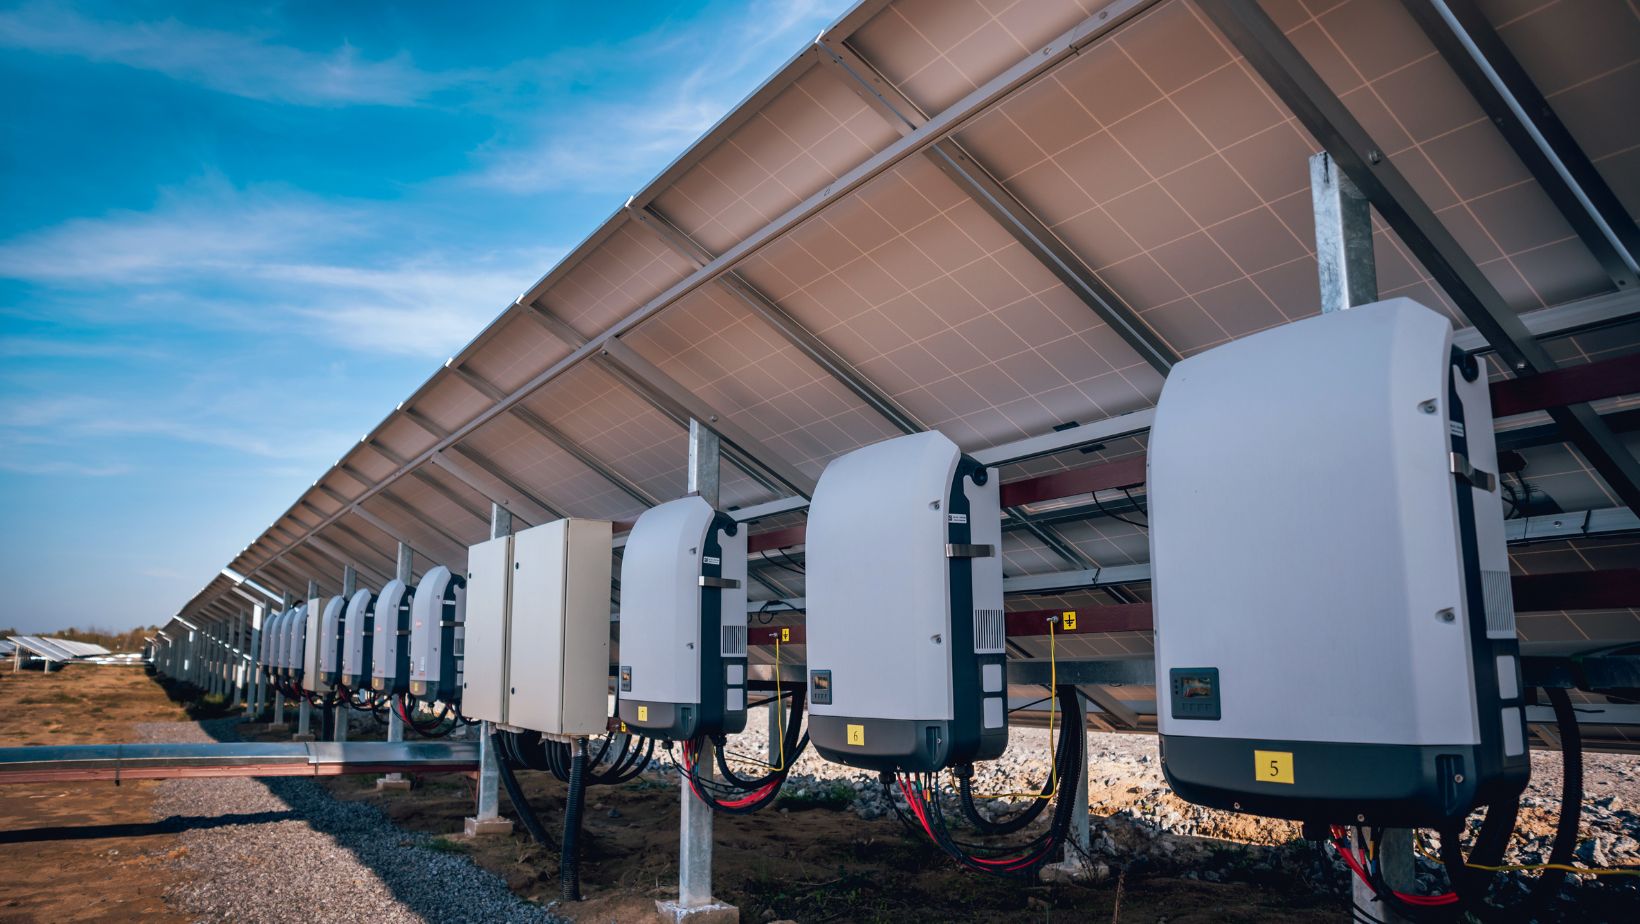
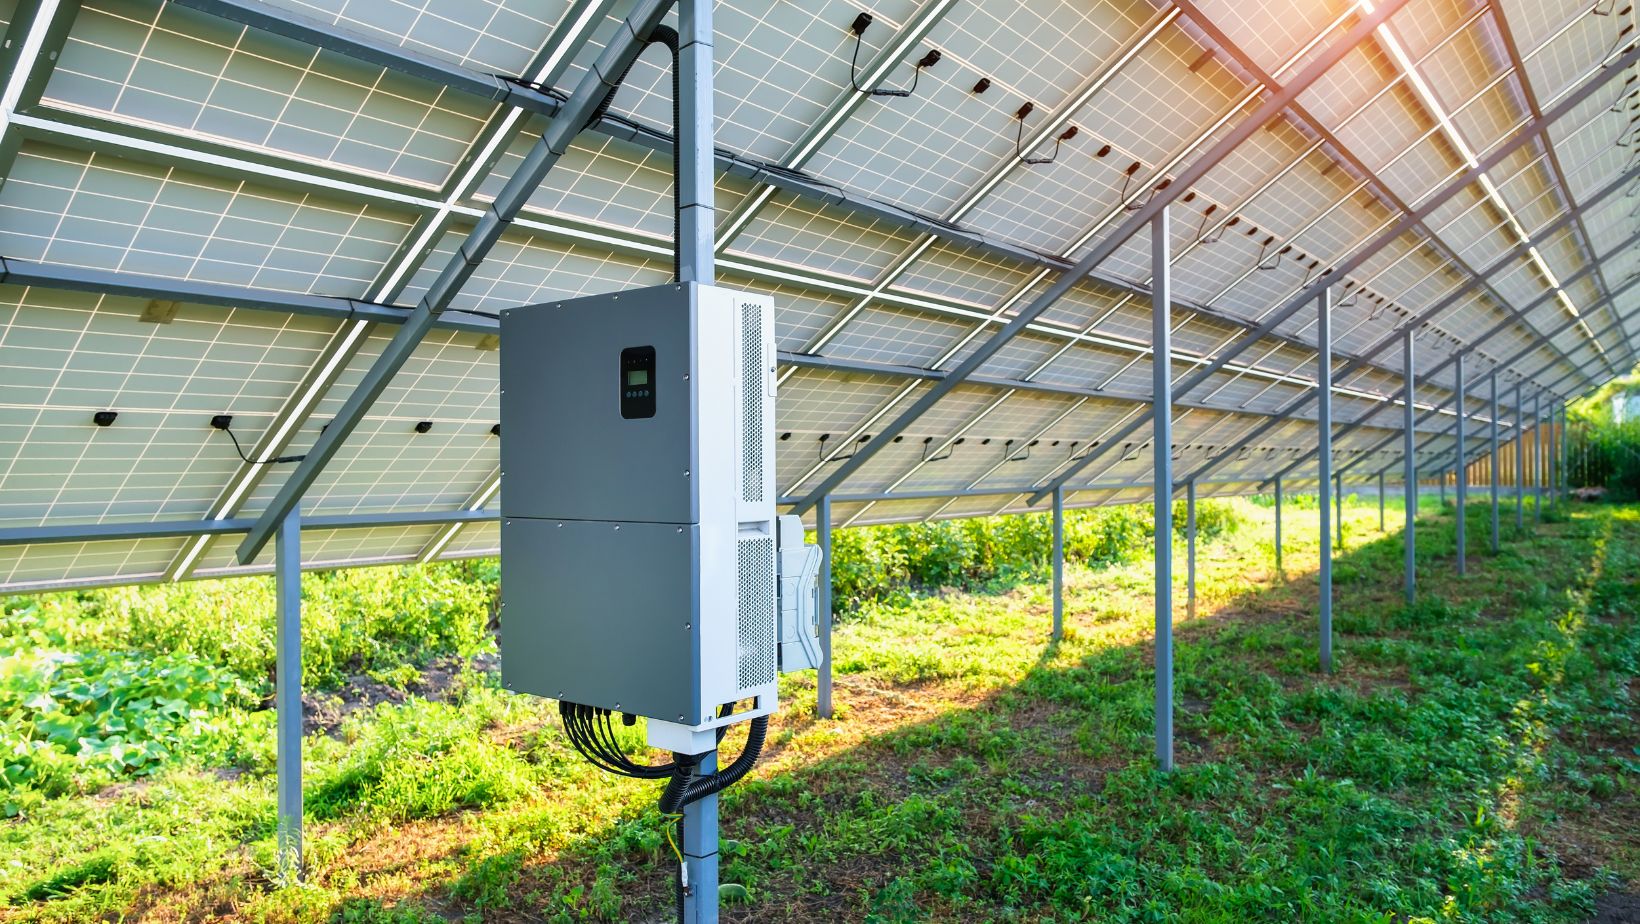
Before embarking on installing a solar power inverter, gathering all necessary components and tools is crucial. The primary components include the inverter, which can be a string or micro-inverter, depending on your solar panel system’s design. You will also need mounting brackets, disconnect switches, and wiring that connects the inverter to the solar panels and your home’s electrical panel. Safety equipment such as gloves, goggles, and a hard hat should also be on your list, especially if you’re working on the roof.
The tools required for the installation include a multimeter for testing voltage and current, a drill for securing the inverter and brackets, a screwdriver set, wire strippers, and a wrench. These tools can streamline the installation process, making it more efficient. Additionally, ensure that you have access to your home’s electrical panel and a clear area for the inverter installation.

Familiarizing yourself with the inverter’s manual is also essential, as it provides specific details regarding the model’s installation requirements. By adequately preparing with the right components and tools, you can confidently approach the installation.
Assess the Installation Location
The first step in installing a solar power inverter is selecting an appropriate location. The inverter should ideally be installed in a shaded area to prevent overheating, which can reduce its efficiency. Common locations include garages, basements, or utility rooms. Ensuring that the chosen location has good ventilation is essential since inverters can generate heat during operation. Additionally, the area should be near your main electrical panel for easier wiring connections.
Before securing the inverter, check the manufacturer’s clearances and space requirements specifications. It’s advisable to choose a spot that allows for easy access for maintenance or troubleshooting in the future. Furthermore, consider the distance between the inverter and the solar panels, as longer runs may lead to energy loss. Considering these factors while assessing the location ensures that the inverter operates optimally and contributes effectively to your solar power system.
Mount the Inverter
Once the installation location has been chosen, the next step is to mount the inverter securely. Start using a stud finder to locate the studs in the wall where the inverter will be installed. This is important for ensuring the inverter is anchored to a solid structure. Mark the location for the mounting brackets according to the manufacturer’s guidelines.
Drill holes at the marked locations and insert appropriate anchors if necessary. After that, attach the mounting brackets securely using the screws provided. With the brackets in place, lift the inverter and carefully slide it onto the brackets until it clicks into position, ensuring it is level and secure. If the inverter is heavy, consider getting assistance to prevent injuries or damage.

Double-check all fasteners to ensure that the inverter is firmly attached to the wall, as this will contribute to its longevity and performance.
Connect Wiring from Solar Panels
With the inverter securely mounted, the next step involves connecting the wiring from the solar panels to the inverter. This process begins with turning off all power sources to ensure safety. Follow the inverter’s wiring diagram, typically in the user manual, to ensure proper connections.
Using wire strippers, prepare the ends of the wires coming from the solar panels. Connect the positive and negative wires from the solar panels to the corresponding terminals on the inverter. Be careful to follow the correct polarity to prevent any electrical issues. After making the connections, secure them tightly to avoid loose wires, which could lead to poor performance or safety hazards. Using a multimeter to check the connections is also advisable before proceeding to the next step. Verifying the connections ensures the inverter receives the correct input from the solar panels.
Installing a solar power inverter can be a rewarding project that enables homeowners to harness the sun’s power effectively. You can ensure a successful installation by following the outlined steps—assessing the location, mounting the inverter, connecting wiring, linking to the electrical panel, and configuring settings. Taking safety precautions and understanding each step’s requirements is essential to maximizing the efficiency and longevity of your solar power system. Whether considering a DIY installation or simply wanting to gain knowledge before engaging with professionals, understanding these processes is invaluable in promoting sustainable energy solutions in your home.
